Page is currently under construction, check back for additional updates.
Overview:
Report Designer Editor allows a user to edit an existing report or create a new one from scratch. Documentation will go over the most commonly used functions of the Report Designer Editor.
Documentation will also give examples of how to add Page count, number of items in a list and how to add custom cells to a report.
Report Designer Editor Overview:
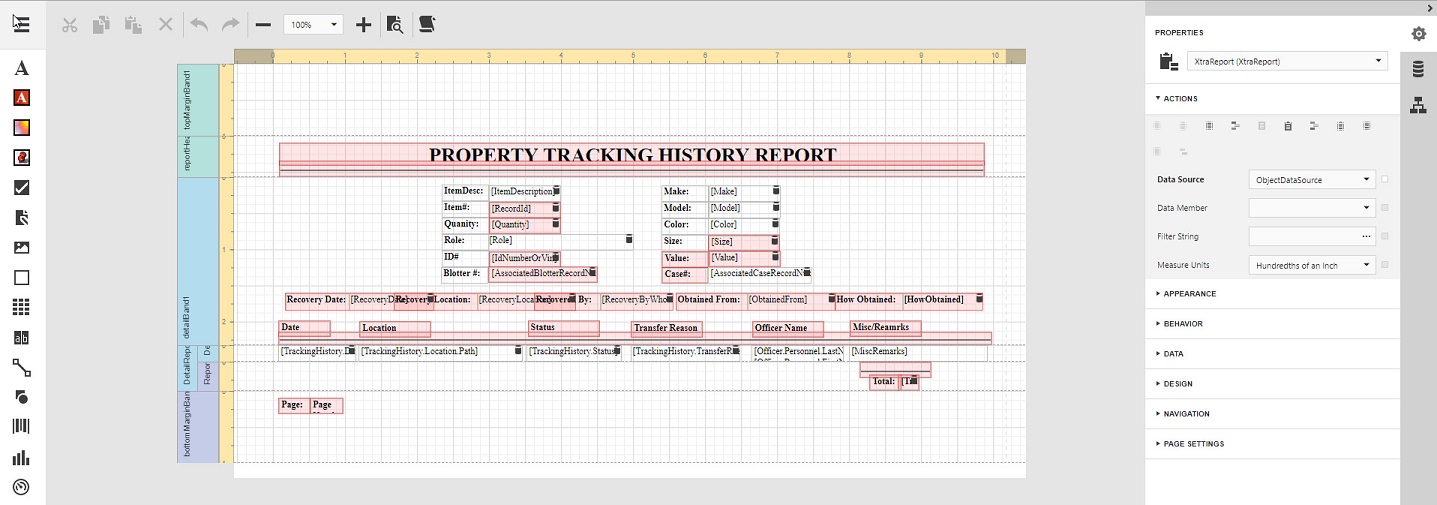
Overview
Left Menu Items:
The left menu Items can be dragged and dropped onto the body of the report. Most of the items have setting options for configuration purposes.
XR Label - Generally used to bring in a TextBox or Select Box data Value and Creating Labels on the document.
XR Dictionary Label - Similar to an XR Label but will bring in the Dictionary Display Value instead of the actual value.
Heat Map - Creates a Heat Map of the search criteria
Pin Map - Creates a pin Map of the search criteria
Check Box - Allows adding the Checkbox setting that was used in a module. if a custom checkbox was created in a module, a script is a needed for the checkbox to function correctly on the report.
Rich Text - If a rich text data is entered in a module narrative, you will need to use a Rich Text element on the form for the data to format correctly on the report.
Picture Box - Allows adding a jpg, gif etc on your report. The image needs to be linked to where your image is stored on your drive.
Panel - Allows placing multiple data elements in a box so it can be easily moved on the report keeping the items together.
Table - Places a traditional table on the report that can be linked to data objects
XR Line - Allows the creating of a graphic horizontal or vertical line on the report - Cosmetic.
XR Shape - Allows placing various type of graphic shapes on the report - Cosmetic
XR Page Info - Allows placing a page count element on your report or the ability to count the number of results from your search as a total.
XR Page Break - Adds a page break to your report
XR Cross Band Line - Another type of a graphic line that can be added to your report - Cosmetic.
Top Menu Items:
Cut - Removes an item from the report body and stores it to the clipboard.
Copy - Copies an item from the report body and stores it to the clipboard.
Paste - Pastes an item stored int he clipboard to the report body.
Delete - Deletes the item selected on the report body.
Undo - Undoes your last action on the report body.
Redo - Redo's your last action on the report body.
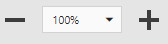
Zoom - Zoom in and out of the report body using the "-" or "+" or selecting a zoom percentage.
Preview - Previews your report but will not work if scripts are embedded in the report.
Scripts - Allows access to the report scripting.
Right Menu items:
Settings - Settings for Field Elements and Data Objects
Fields/Data Objects - Access to Module Fields and Data Objects. These items can be dragged and dropped onto your report.
Report Explorer - Gives an overview of Field Elements and Data Objects in the report.
Bands:
- Bands are added to the left side of your report and help with formatting your report and the generation of records. Using your mouse to hover over the icons will give you the name of the band.
Available Bands to use in a report.
- Top Band Margin
- Report Header Band
- Page Header Band
- Group Header Band
- Detail Band
- Detail Band Report
- Group Footer Band
- Report Footer Band
- Page Footer Band
- Bottom Margin Band
- Sub-Band
Custom Fields Overview:
There are two custom fields you can add to a module and link to Report Designer.
- Check Box
- Text or Selectbox
Checkbox:
- Create your custom checkbox in the form editor and document the value highlighted in yellow.
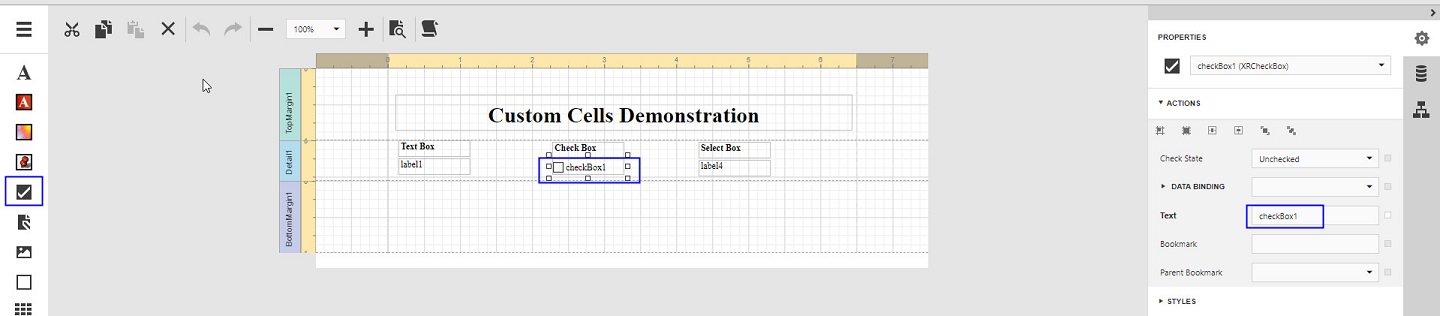
- In Report designer add a checkbox to the report.
- Either use the default label text name or relabel to a unique name.
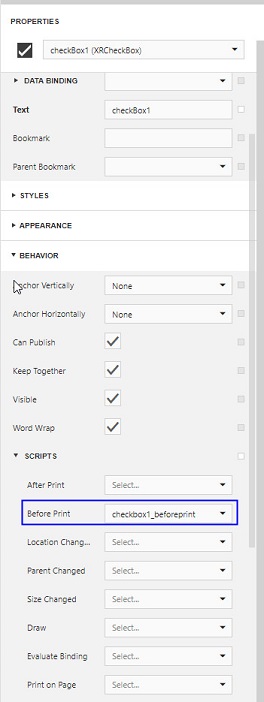
- In this example the checkbox is called Checkbox1
- Open up the Report Designer scripts interface.
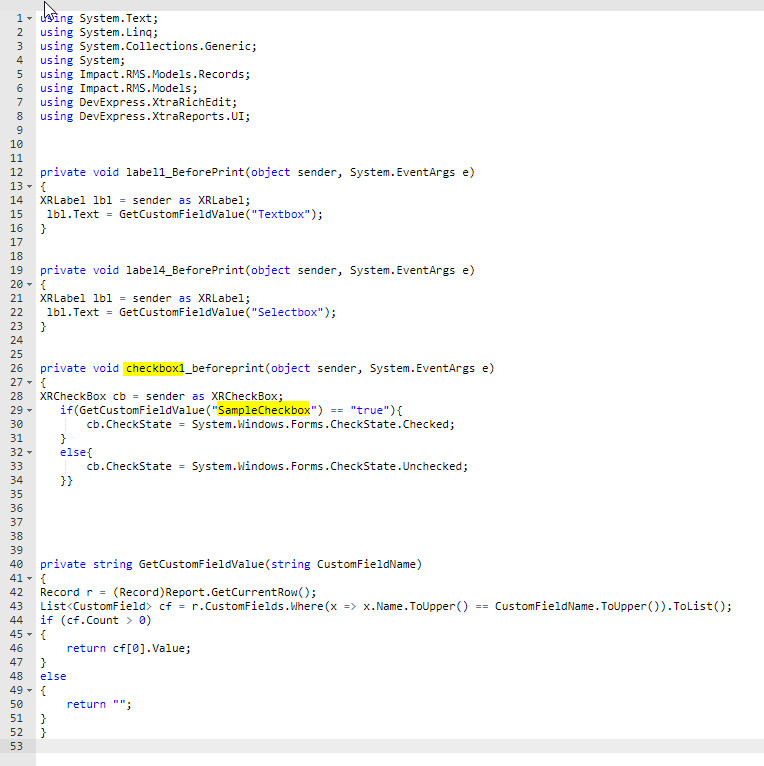
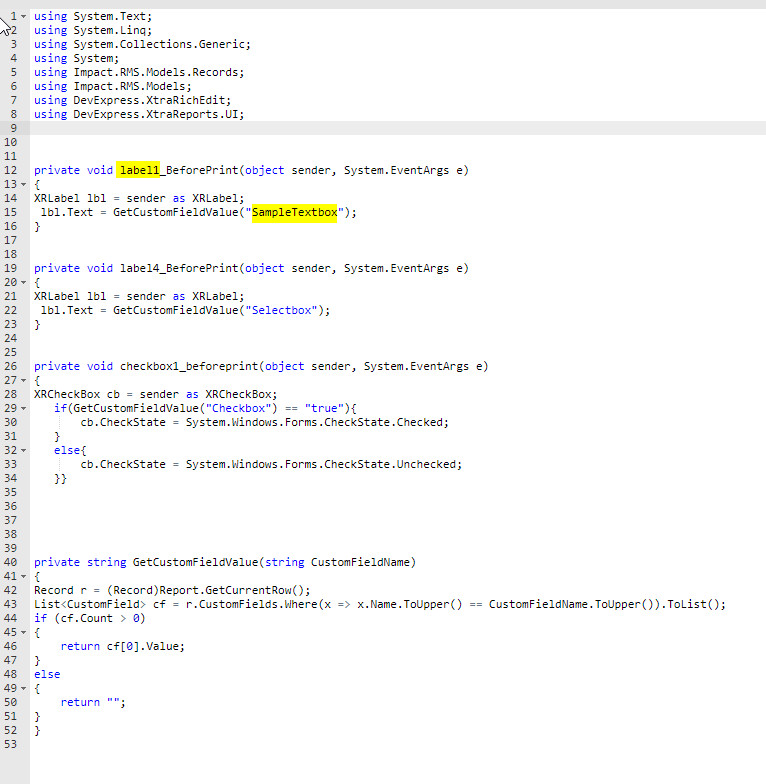
- Copy and paste the sample Checkbox script.
- Modify the values in yellow to match the value used in the form editor and the checkbox text name.
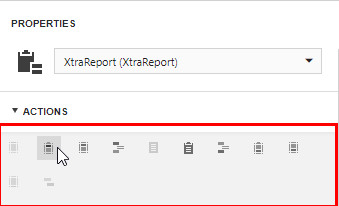
- Open the checkbox settings and find script behavior.
- Select the script in the before print dropdown.
Text and SelectBox:
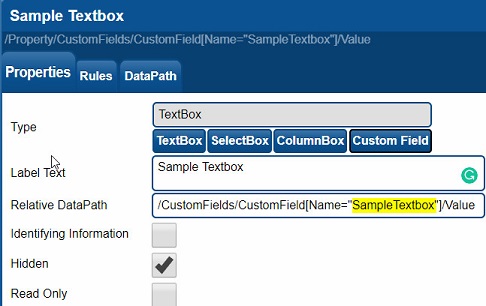
- Create your custom Text or Select box in the form editor and document the value highlighted in yellow.
- In Report designer add a Textbox to the report.
- Either use the default label text name or relabel to a unique name.
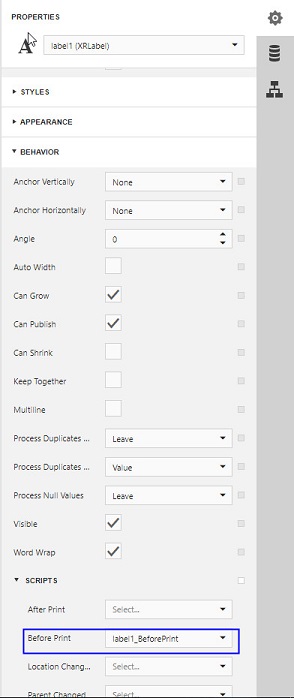
- In this example the Textbox is called Label1
- Open up the Report Designer scripts interface.
- Copy and paste the sample Textbox script.
- Modify the values in yellow to match the value used in Form Editor and the Textbox text name.
- Open the text box settings and find script behavior.
- Select the script in the before print dropdown.