Narratives
Overview:
Narratives are available in most of the RMS 3 modules and are the primary means of entering documentation for a report.
This Document will go over the features and options available to users in narratives.
Add or Remove a Narrative:

- The narrative tab is available in virtually all RMS 3 modules with the option to add and remove a narrative.
Narrative UI:
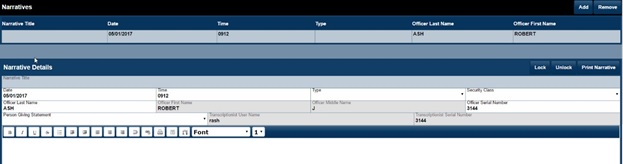
- When a new narrative is created, it will automatically bring in the user who is log into the software’s information and date/time stamp when the narrative was initially created.
Narrative Types:
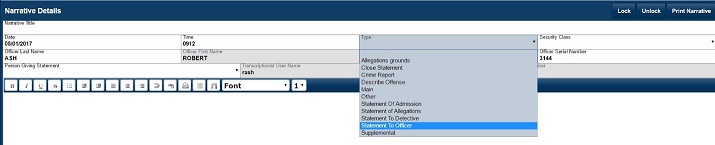
- Users should always add a narrative “TYPE”. Main is required if you want the narrative to print out on any New York State Report.
- Narrative Title is freehand t0 help better describe what the narrative is for. Example Jane Doe Deposition.
Security Class:

- Security Class also users to make a narrative only available to users who have the correct permissions for that Security Class type.
Narrative Body Options:

Mouse over an icon will give a description of its function.
- Bold
- Italic
- Underscore
- Strike Out
- Various text format types
- Undo
- Hyperlink
- Print text
- Date/Time Stamp
- Replace
Date/Time Stamp:

- Date/Time stamp not only adds the current date/time but includes the user’s information who is currently logged into the software.
Replace:
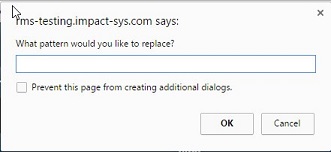
- Enter the text you would like to replace in the entire narrative.
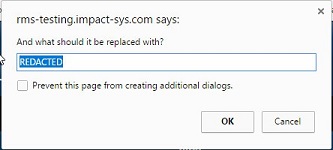
- By default, the text that is being searched will be replaced by “REDACTED” unless changed. Example of use: A person's last name is consistently misspelled in a narrative. Misspelled information is added in the text to search and correct spelling of the name is added in the text to be replaced with.
Narrative Locking:
- User/Author of narrative can only lock and unlock their own narratives.
- A user with lock override permission can unlock anyone’s narrative.
Narrative Text Redacting
Redaction Action Button: 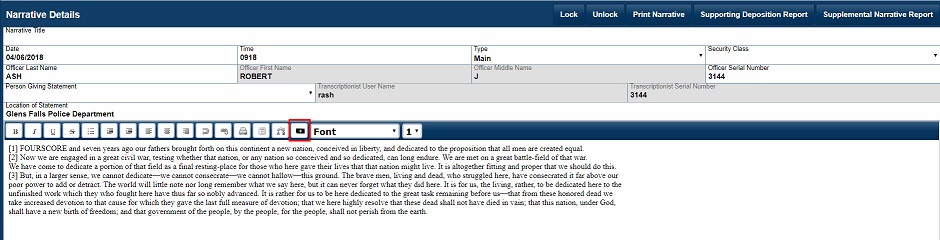
- Screen capture illustrates the location of the redacted text action button.
Text to Redact 
- The user will first highlight which text they would like to redact
- The user will place the cursor in the narrative, left click and hold the mouse button, moving the mouse to select the text to be redacted.
Text marked to be redacted: > 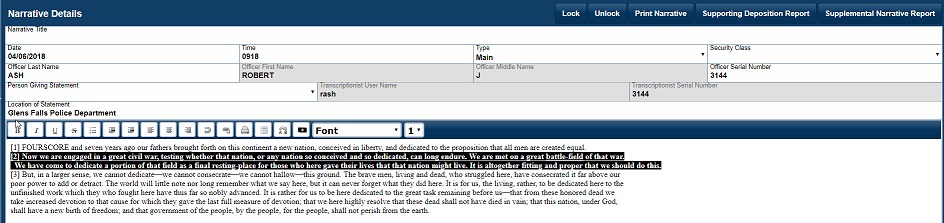
- After the text is highlighted the user will then check the redaction action button.
- The text will then be highlighted with a black background.
- Repeat procedure for any other text needing to be redacted.
Redacted text check box in Report Interface Menu:

- In the Report User Interface, you will see an option to print reports with the redacted text to be hidden on the report.
Generated Reports: 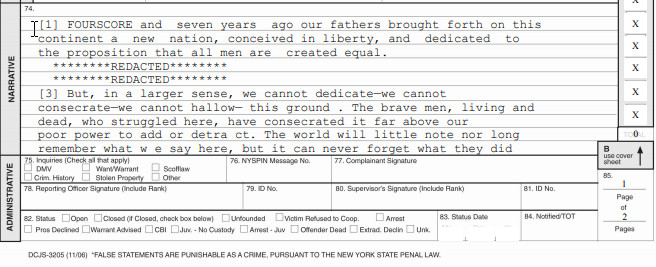
- Screen capture illustrates how the redacted text will appear on a printed report.
Remove redacted highlighted text in the narrative:
- To remove text that has been marked to be redacted. Highlight the redacted text using your mouse and click the redacted text action button.